Bruce Feirstein’s book* came out while I was at university. It was a something of a shock, really – I quite liked quiche, so was a bit disappointed to discover that it made me an unreal man. I shrugged off the pain and the hurt eventually, though, and have been making and eating quiche ever since.It’s originally German – ‘Quiche’ comes from the German word ‘Kuchen’ or cake – but from the part of Germany which is now French and called Lorraine, hence Quiche Lorraine, an open flan with smoked bacon. Add onions and it’s Quiche Alsacienne, also a now-French part of Germany.Whatever; it’s really easy to make, especially if, like me, you cannot be faffed to mix flour and water and some fat together to make pastry. Frankly, a euro buys very nice pastry of many kinds here so I’m right out of faff when it comes to pastry.I usually make two at a time, because. Well, because everyone in the family loves it basically and if I only make one there’s none left for me by the time I get out of the kitchen to the dining table.I unroll the bought puff pastry into a round baking tin, using the paper it’s wrapped in to line the tin, then ensure the side bits are well formed up the sides of the tin.Next, I fill it with my baking beans (some old white beans from somewhere, no idea how long I’ve had them now.) Ensure that you put a circle of greaseproof or silicone paper in the base of the quiche first or the beans will stick into the pastry. Ask me how I know. OK, I know because last time I forgot the lining.Bake it for 10-15 minutes – this, you can tell your less professional friends, is ‘Blind baking’. I also pierce the pastry many times with a fork to allow the steam to escape – it’s this expanding steam inside puff pastry which makes it rise.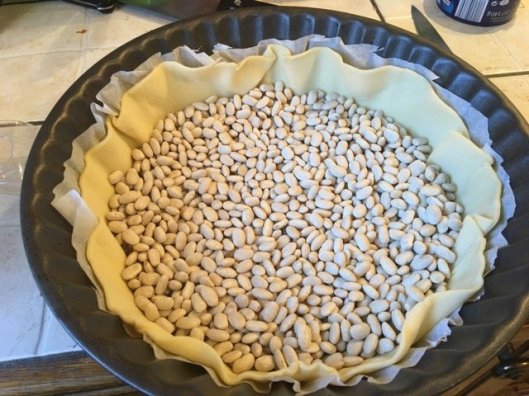 Once that’s done, I take out the beans and allow it to cool while mixing the filling, and despite what traditionalists will try to insist you can add more or less anything you like. I’ve even made chocolate and marshmallow quiches which went down very well.This time I made an Alsacienne, with bacon and onions, and a tuna and sun-dried tomato quiche which my wife Delphine and I loved and which the girls Scarlett and Roxanne would not touch because it looks suspiciously as though it contains vegetables (6 and 8 year olds are, as every parent knows, allergic to vegetables).200g of lardons and 200g – approximately – of onions does the job.The ‘appareil’, the mixture I make up in a jug, contains 200ml of cream (I use 30% fat content just because that’s what’s most widely sold in France, I’d use double/40% if I could find it), a healthy pinch of salt, some ground pepper and three whole eggs which all get whizzed up using my faithful stick mixer.I add 100-200g of grated cheese to the base of the tart, then spread the bacon lardons (or tuna and chopped sun-dried tomatoes or the grated chocolate and chopped marshmallows) on top of that, then finish by pouring the appareil over that. My wife’s family has a tradition of spreading a thick layer of mustard onto the base of the tart whenever they make tuna quiche. Tastes quite nice, but you need a LOT of mustard to be able to taste it at all. Into the oven for 15 minutes at 180°C, turn it round 180° and give it another 5-10 minutes. Until, basically, it doesn’t wobble any more in the middle when you shake it gently.It rises somewhat when you take it out of the oven and, if you can, serve it right now. Otherwise it will fall but still taste delicious.* Yes, I am aware that it was a satirical book. No, I do not think that I am unreal. Or undead. I may be unlikely, however.
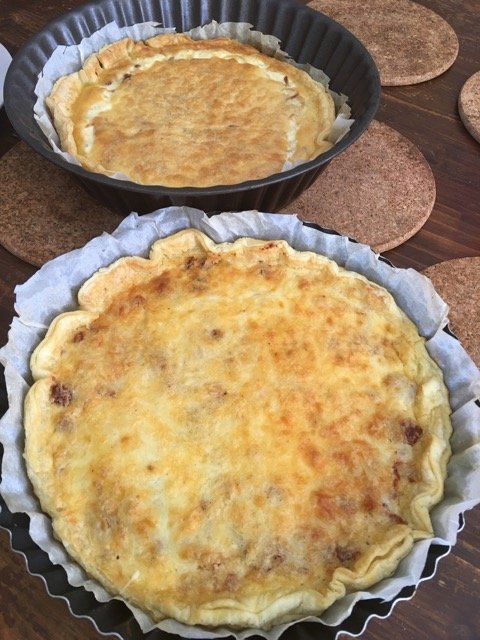
Real men eat quiche and like it
01 Saturday Oct 2016
Posted in Recipe
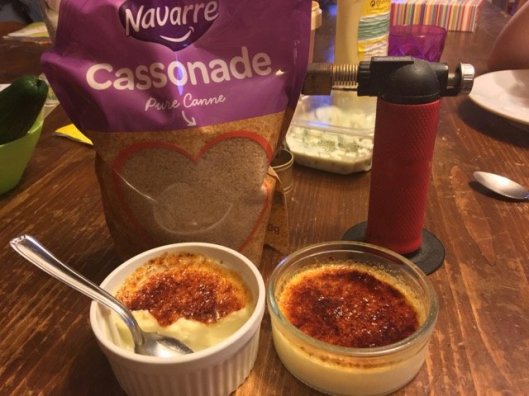
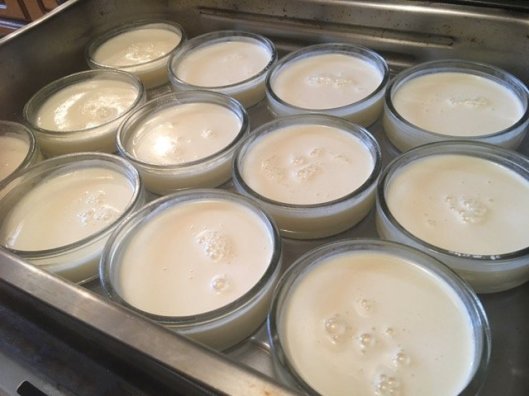 These quantities gave me enough mixture for 18 ramekins.I set them in a baking tray and add boiling water to the tray, about halfway up the sides of the ramekin. This bain marie ensures that the crèmes don’t burn on the bottom – water keeps the temperature to a maximum of 100°C. Top tip: put the bain marie as close to your oven as possible, then add the water to save carrying a heavy, boiling hot pan across your kitchen.They go into a warm oven at about 150°C for 20 minutes when I turn them around to ensure they cook evenly. I check them again after 20 minutes to see if they’re set – just shake the baking tray gently to see how they wobble. If the mixture in the centre of each ramekins wobbles more than the outside, they’re not quite cooked yet. When the mixture wobbles as one, they’re done. If the tops are starting to brown and they’re still not set, cover with aluminium foil to stop them browning further. This time it took 45 minutes for everything to be set properlyOnce cooked, remove them from the oven and the bain marie and allow to cool before refrigerating them.Just before serving, sprinkle a half teaspoon or so of sugar on top and caramelise it with your blowtorch – I now use one which uses cigarette lighter refill fluid, although I’ve used regular plumbers’ ones before.Allow the caramel to cool and harden before eating.You can flavour the crème with many different things: I’ve used basil, rosemary, lemon verbena, lavender and other herbs from the garden many times. You heat up the milk and/or cream with the herb in it and allow it to infuse for an hour or so before making the crème.You can also add fruits in the bottom of the ramekin – strawberries, raspberries, blueberries, banana, whatever takes your fancy.
 Some do, some don’t. Your piping technique will also have an effect, but I’m getting ahead of myself here.If you want good, stiff peaks and meringues that hold their shape then you need to make Italian meringues, not French ones. The ingredients are the same except to make Italian meringues you need to heat the sugar to 115°C, which is quite hot. You slowly drizzle this hot sugar into your beaten egg whites as you keep stirring, which is hard to do if you don’t have either a stand mixer or a third hand. Or a commis. I have a commis but she’s 8 years old and I’m reluctant to let her near molten sugar.So, French meringue it is. As you can maybe see in the picture above, the meringue should take on a glossy sheen when it’s getting towards being beaten enough. And, of course, when you lift the whisk up the mix should form a peak which holds its shape well.There are schools of thought about when to add the sugar – before, during, after or a combination thereof. Me, I get it going and then as the egg whites start to get their form I start drizzling in the sugar, slower or quicker depending on my mood and what’s on the radio.The real secret to meringues, if there is one, is to beat them for MUCH longer than you think is necessary. Time yourself and see how long it takes to get them to the point where you think they’re OK; now beat them for the same amount of time again. They’ll get much stiffer. Me, I beat them until I can’t bear to hold the mixer any longer and my 8-year-old commis has gone to make meringues in her Minecraft kitchen.And then you pipe them out onto a baking sheet or dollop them onto it with a big spoon
 You see giant dolloped-with-a-big-spoon meringues in many French patisseries being sold pretty cheaply, €1-€1.50 each as the patissiers try to get rid of their excess egg whites – most creams and crèmes are made with just egg yolks so there’s always a surplus of whites. Which is why, incidentally, there’s a wealth of patissiers around the Seine river in Paris: vintners importing wine by barge from Burgundy and Bordeaux into the capital used egg whites to clarify their wines, giving them an excess of egg yolks which were snapped up cheaply by medieval patissiers who set up shop near the river.Anyway, choose the form you like.The results go into the oven to dry, not bake – if they’re coloured at all they’re overcooked – at 80°C for 3-6 hours, depending on their size.
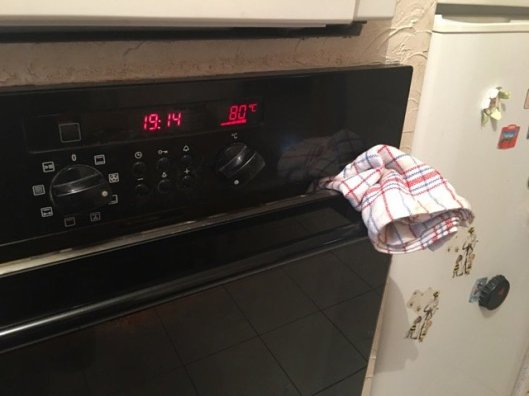 Professional patissiers and restaurant kitchens have ovens with ‘ouilles’, vents you can open to let out moist air from the interior. Domestic ovens mostly don’t, so I prop mine open half a centimetre or so with a folded tea towel. It helps the drying process go quicker.When I worked with
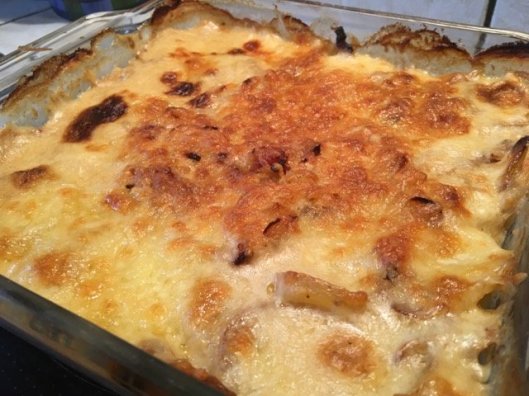
 First things first, write out your prep list. This is very important – work out what needs to be done first and so on. No point working on the meringues first since they take 4 or 5 hours to dry out in the oven so we put them in last, otherwise the oven’s out of use while they do their stuff.
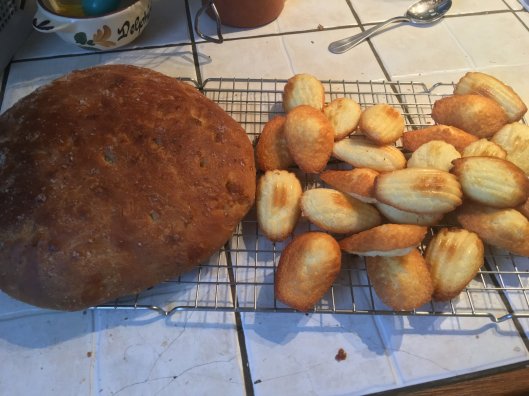
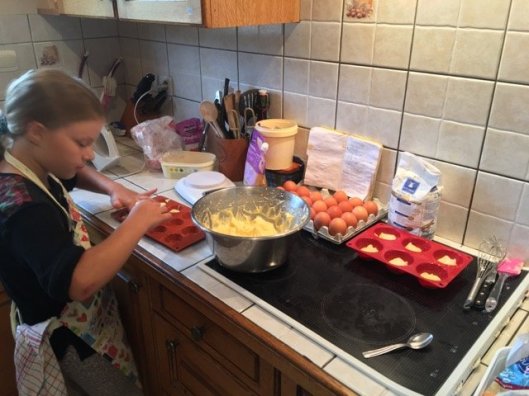 We made the madeleines first, the full recipe – 9 eggs, 500g sugar mixed to the ribbon stage, 400g of softened butter, 400g flour, baking powder, the lot. We made dozens and dozens of them in the end.
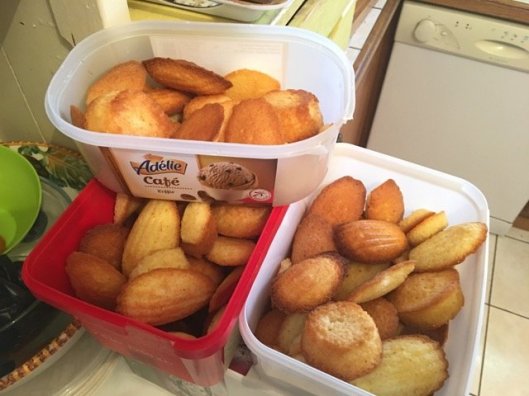 Three bags full in fact, as it were.
 Best part of baking is, of course, licking the bowl clean afterwards.
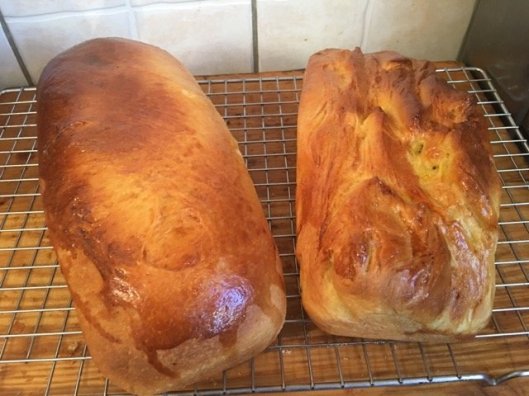 Then we made brioches. Two of them, one smooth and one gnarly – someone in the house likes chunky crusts.
 Not me, I like a smooth crust.
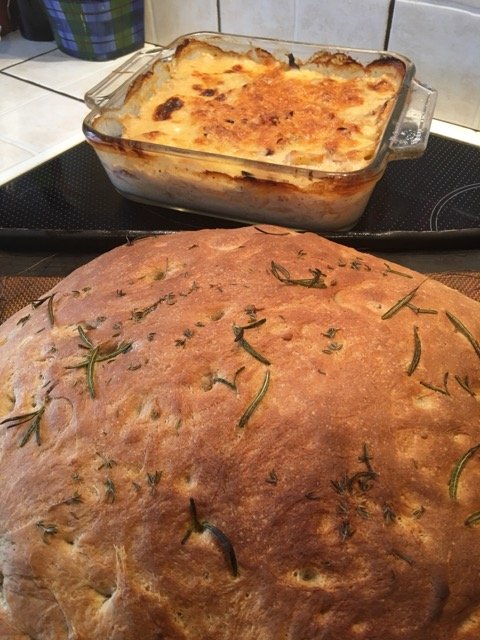 And Tartiflette and rosemary and thyme ciabbata.
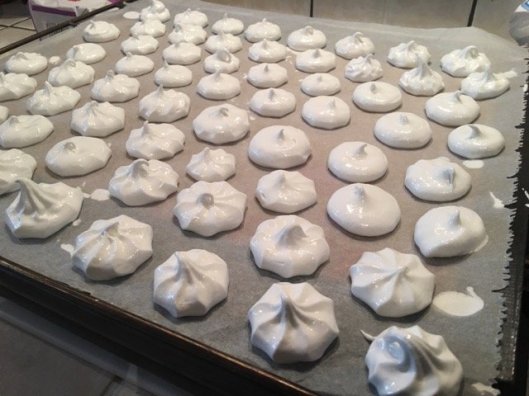 The little meringues piped ready to go into the oven to dry. The little ‘blobs’ on the sheet next to the meringues are drops of mixture under the baking paper to hold it down while I pipe the meringues themselves.
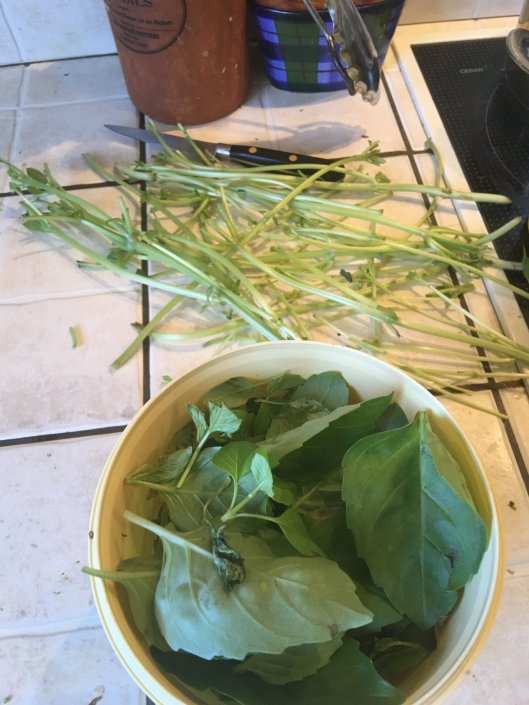
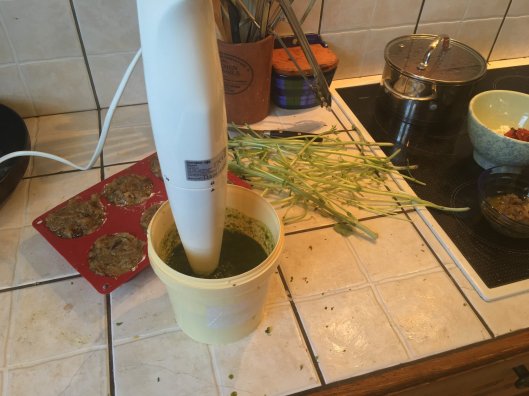 You can use it as it is, or add lemon juice or another acid to really transform it into a vinaigrette. Add parmesan too and it goes well on crunchy salad leaves or beef carpaccio.It’ll keep a bit in the fridge but be careful, you’re smooshing all sorts of bugs into the basil which could harm you.
 And then it’s just a question of churning them out. Keep two pans going, more if you have them, and don’t let your attention wander. Also, don’t have your stove too hot – on my electric hob the rings are at 7 on a scale of 1 – 9, which means the crêpes get about two minutes each side.Stack them up and serve them with, well, whatever you like; Nutella’s a big favourite here as is a sugar/lemon mix; sometimes they go for butter and maple syrup, too.And chantilly cream, obviously.
 This is a half-successful attempt at chantilly cream – it was hot (over 30°C today) and I hadn’t chilled the cream, bowl or whisk as I’d normally do as a matter of course. The problem when it’s hot is that the cream separates quickly into a solid and milky liquid, but it still tastes good albeit a little heavy.Bon appetit!
 One last note: for various reasons (OK, I’m lazy and it was the first packet that came to hand) I used brown, less-refined sugar to make this crème patissière and it turned out very well, a subtly caramelised taste which is very pleasant.
 Anyway, one of the features of the school of my youth was the school Tuck Shop, a small room in the cloisters where we could queue up at 10.45 every morning to buy sticky currant buns. And very delicious they were too.I’ve had these buns in the back of my mind for the past 40 years, and have now succeeded in reproducing them pretty well, using a recipe for French brioche dough.Well, recipe; I exaggerate – I follow the instructions on the packet, mix it up in my bread machine (my old hands are too stiff to pound dough, what with the carpal tunnel problems and my innate laziness), form the dough into buns and pop them into the oven.Simples.
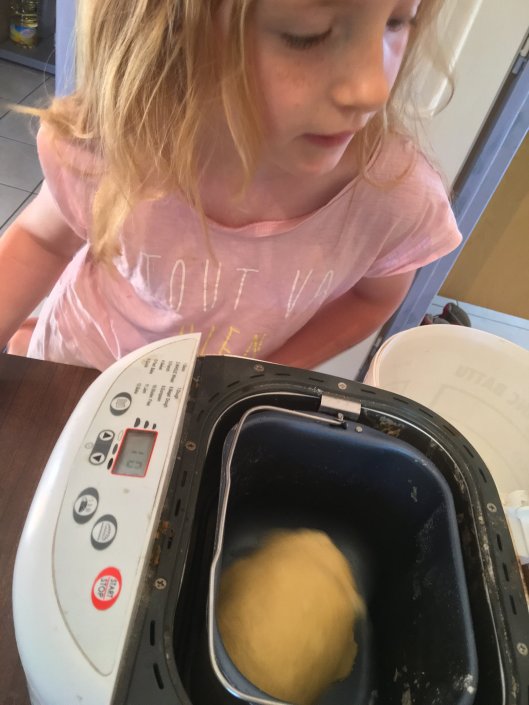 So I buy ‘Farine T45 de force’, strong gluten-rich flour specially made for brioches with added gluten and powdered egg yolk; there’s a regular T45 for doing other patisserie which works, but this works even better. You don’t have to read the small print or delve into details – you just buy the one marked ‘Brioche’ on the front. It’s the powdered egg yolk plus the egg you add later that makes it yellow.The recipe is quite simple: 175ml cold milk, 40g sugar, 8g salt, 75g cold diced butter, a whole medium egg (50g) and 350g of the special flour plus a sachet of dried active yeast (you can get a special brioche yeast here, regular works fine too).I add these ingredients, in this order, to the bread machine and set it going on its 90 minute mixing and raising program (the small curious child above is optional). After about 20 minutes I add the raisins I love (and which the small child above hates) and they get mixed in appropriately. Sometimes I do have a tendency to add a few too many and it looks, as my good friend Caroline’s granny always said, as if they’ve been ‘Thrown in from the top of the stairs’.
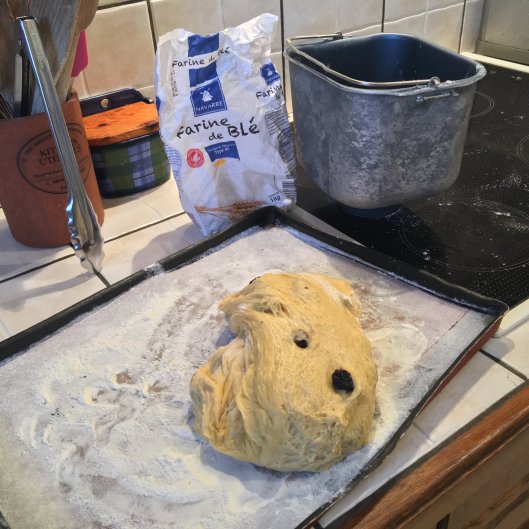 After an hour and a half the dough has risen; I take it out and divide it into eight (roughly) equal balls and leave them to rise again for half an hour while the oven warms up to 180°C.
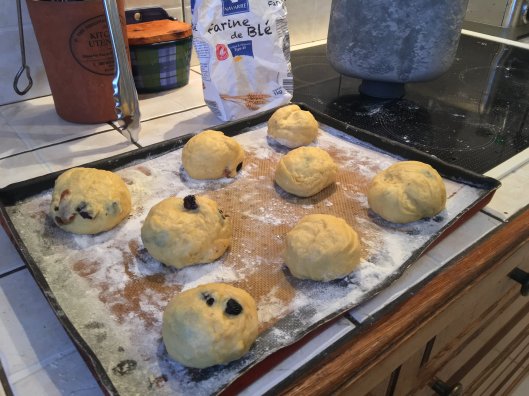 They rise quite nicely, and when they’re ready to go into the oven I give them a quick egg wash (roughly beat one egg in a bowl or mug, paint it on with your pastry brush).
 After 12 minutes in the oven I turn the baking tray around 180° and give them another five minutes, to ensure even cooking. Then when they come out and have cooled I give them a sugar syrup coating to make them really shine, nice and glossy.
 Miam. Serve with some nice salted butter and good strawberry jam. And, if you can get it, clotted cream.