This is a timing plan for a meal for two (or more, adjust quantities as necessary). It was designed originally for a – male – friend who doesn’t normally cook, but who wanted to prepare something ‘impressive’ for his spouse.
So, start yesterday with:
Apple collars
Use medium-sized tasty apples, Granny Smiths are the only ones I can get here. Core them with an apple corer (lemme know when I’m getting too technical) and then slice thinly with a mandoline (the kitchen kind, not the play-when-drunk kind). If you don’t have a mandoline you could try a sharp knife but you may fail to get the slices thin enough – you want them to be about 1 milimetre thick. Make a sugar syrup by dissolving 600g sugar in 500ml of water, warm it over a low heat until the sugar is all dissolved. When it’s cool, slip the apple slices in (they can break so for two people I’d do about 10 – they’re delicious anyway) and let them soak for a few hours. Then cook them for two or three hours in an oven at 80 C, turning once. Best to cook them on a silicone cooking mat, a Silpat, or greaseproof/silicone paper if you don’t have that. They should be crystalised when you take them out but not browned. If you’re doing this for lunch tomorrow, start today.
OK, time planner for soup/chicken/pears.Assuming you want to eat at 1pm, adjust for other dining times.1100: Choose pears that are still firm, one per person. Peal pears really carefully, leaving the stalks. Cut a slice off the bottom so they’ll stand up straight. Put into a saucepan, cover with red wine, add four tablespoons of sugar, one teaspoon of ground cinnamon, two cloves, heat gently. You don’t want this to boil, you want the pears to poach gently so don’t have the heat too high. When it’s steaming/simmering, taste the mulled wine and correct the sugar/spice mix if you don’t like it. If it’s too sweet, add more wine. How long it takes depends on how ripe the pears are. You can cook them for too long and they’ll disintegrate, then you have pear and mulled wine soup which you strain and serve like you meant it to happen. In all, they’ll be done in an half an hour to an hour. Poke a sharp knife into them to see if they’re done – when it slides in easily, they’re done. Remove the pears at this point and keep them on one side and allow the wine to go on simmering until it’s reduced at least by half. You can reduce it more if you like, but don’t go too far or it’ll turn to toffee. When it’s reduced enough for you – keep tasting it – turn off the heat and allow it to cool on its own. You’re going to warm it up just before serving so just leave it in the saucepan.1115: When the pears are simmering, cut the tops off the carrots so you don’t see any more green centre, cut off the very tips, then scrub them thoroughly under running cold water with a nail/vegetable brush. Cut into equal-sized pieces about 2 cms long/wide and put them into a saucepan of cold water. You’ll need about 250g per person. Use just enough water so all the carrot is covered. Add salt, a four-fingered pinch per litre of water. When the salt is dissolved, taste it – it should taste as salty as the sea.1130 Cover the carrot pan, bring to boil, reduce heat to simmer gently. 15 – 20 minutes. Peel potatoes, cut into equal-sized pieces, leave in pan of water.1145: Prepare green veg if you’re using fresh, or use frozen and have a beer instead of preparing green veg. When you can stick a knife into carrots, remove from heat and liquidise with stick blender or liquidiser, cuisinart, whatever. Cover pan, leave on one side.1200: Prepare chicken. Use chicken breasts. You want them to be of equal thickness all the way around so they cook evenly, so put into a plastic bag and gently pound the thick end with a meat mallet or your empty beer bottle. If you’re using rabbit there’s no pounding to be done.1215: Put potatoes on to boil. Add salt as above. Peel thumb-sized piece of ginger for two people.1230: Put butter to melt in e.g. bowl in microwave. Use 25% weight of spuds. Put frying pan on heat to warm up, then add olive cooking oil, then salt chicken/rabbit lightly, then put in frying pan. Give it five minutes on one side without touching it, then turn. When done remove chicken, keep warm. If rabbit, leave long enough to brown outside all over then put in oven for 15 minutes. Don’t clean the frying pan.1245: Drain spuds, leave in colander on top of saucepan while you drain green veg. Put veg in serving dish, cover in warm place. Spoon mustard into chicken frying pan after pouring off oil, stir well with wooden scraper to get bits up, when bubbling pour on cream, stir well. When bubbling, turn off heat.1250: Put carrot soup on heat to warm, add one third volume cream reserving a little, grate ginger directly into soup. Mash potatoes, then pour in melted butter, mix well with masher or whisk. Cover, keep warm. Warm serving plates.1300: Put green veg on to cook, serve soup. Pour swirl of remaining cream onto soup, add sprig of herb e.g. parsley if that floats your boat.1315-ish: Turn up heat on mustard sauce to make bubble, stir well. Plate chicken chevauché (one bit leaning on another), pour on sauce leaving half meat exposed, add potatoes and veg to plates, herb if need be.1345-ish: Warm sauce for pears, put pears in dish, cover with sauce, add apple collars if you did them, serve.Ingredients for two:500g carrotsSalt250ml thick creamTwo chicken breasts/two rabbit thighsMustard250ml cream500g potatoes125g butterGreen veg to taste2 pearsBottle red wineSugarCinnamonCloves1 apple
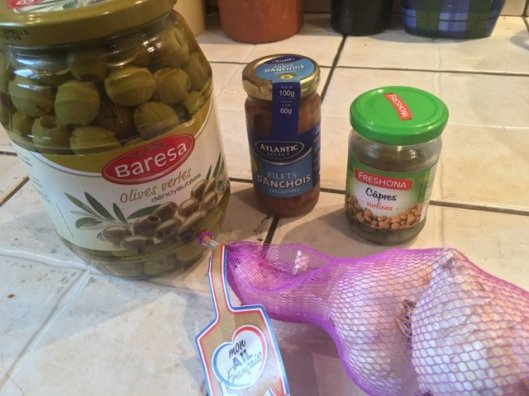
 Keep mixing with the stick mixer until it forms a fairly smooth paste. Some people like lumps in their tapenade, some like it to be completely smooth. Up to you.
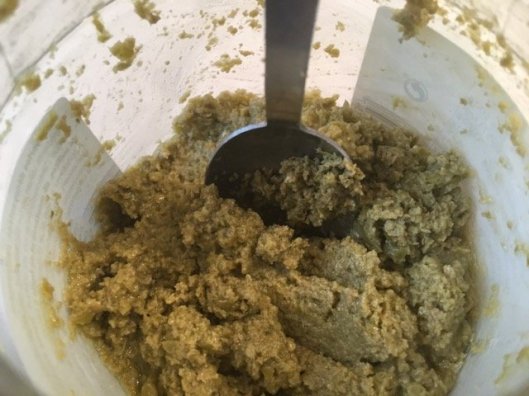 Some people add other things to their tapenade: onion, herbs, lemon juice, brandy – as I’ve said before, peasant foods like this, bouillabaisse, cassoulet, tartiflette and all the rest are made with whatever you have lying around at the time.
 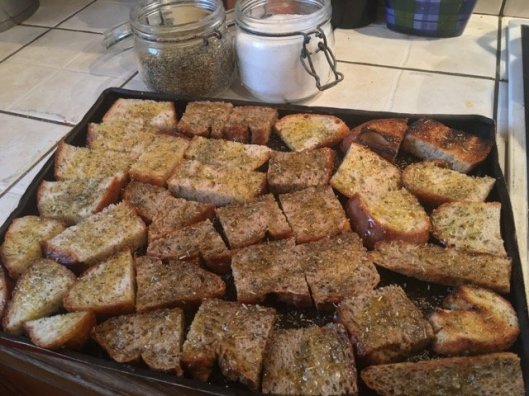 Spread it on croutons. I make mine by slicing up baguette or, here, some of the fennel and sesame seed loaves I made yesterday, adding a little olive oil, some herbes de Provence and a very little salt, then baking them in the oven at 200°C for 20 minutes, turning the baking tray once to ensure they’re evenly coloured.
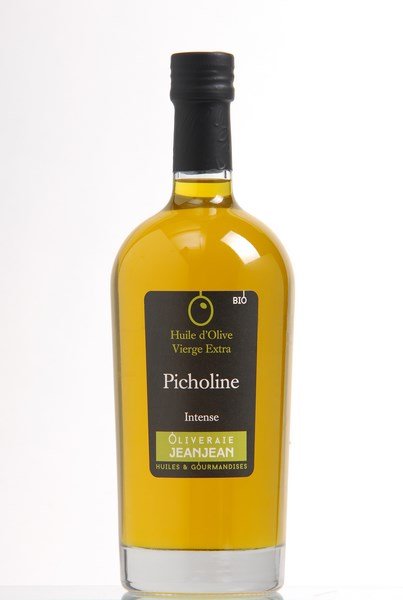
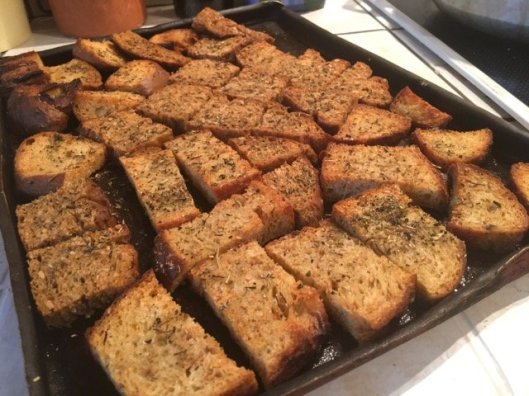 I usually make tapenade with green olives simply because they’re the easiest to find which have already been de-stoned, but in fact I prefer black tapenade personally. Black olives have more depth of flavour for me, but they’re less common and more expensive.Black olives are more expensive as they stay on the trees for longer – black ones are riper than green ones. But leaving them on the trees costs money (time=money, remember) and also runs a greater risk of them being hit with a frost, which ruins the harvest.Note also that properly cured ‘black’ olives are usually violet-dark purple in colour, not midnight black as you often see them in shops. Those that are very black have often been coloured with food dye.We do get olives from the tree in our garden and I try to let them go black normally before curing them. But that’s a story for another day. Today, it’s tapenade on a crouton with a glass of Muscat before Sunday lunch.
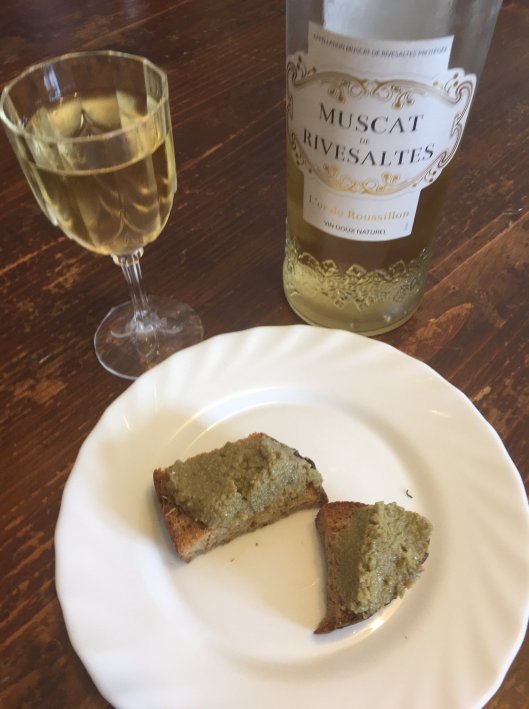
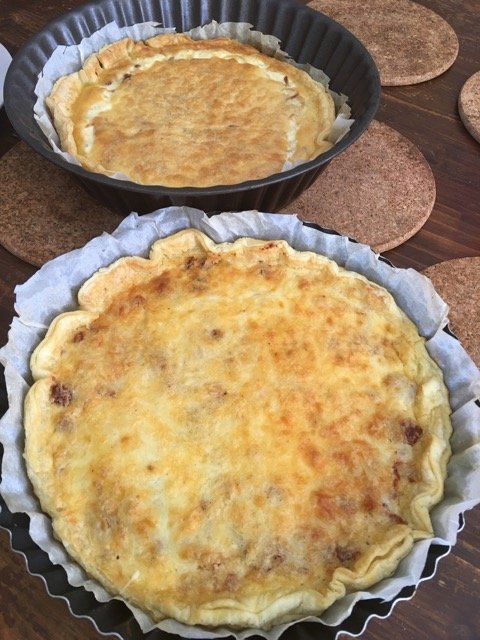
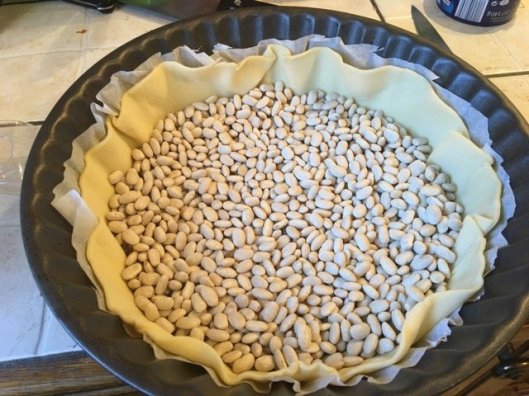 Once that’s done, I take out the beans and allow it to cool while mixing the filling, and despite what traditionalists will try to insist you can add more or less anything you like. I’ve even made chocolate and marshmallow quiches which went down very well.This time I made an Alsacienne, with bacon and onions, and a tuna and sun-dried tomato quiche which my wife Delphine and I loved and which the girls Scarlett and Roxanne would not touch because it looks suspiciously as though it contains vegetables (6 and 8 year olds are, as every parent knows, allergic to vegetables).200g of lardons and 200g – approximately – of onions does the job.The ‘appareil’, the mixture I make up in a jug, contains 200ml of cream (I use 30% fat content just because that’s what’s most widely sold in France, I’d use double/40% if I could find it), a healthy pinch of salt, some ground pepper and three whole eggs which all get whizzed up using my faithful stick mixer.I add 100-200g of grated cheese to the base of the tart, then spread the bacon lardons (or tuna and chopped sun-dried tomatoes or the grated chocolate and chopped marshmallows) on top of that, then finish by pouring the appareil over that. My wife’s family has a tradition of spreading a thick layer of mustard onto the base of the tart whenever they make tuna quiche. Tastes quite nice, but you need a LOT of mustard to be able to taste it at all. Into the oven for 15 minutes at 180°C, turn it round 180° and give it another 5-10 minutes. Until, basically, it doesn’t wobble any more in the middle when you shake it gently.It rises somewhat when you take it out of the oven and, if you can, serve it right now. Otherwise it will fall but still taste delicious.* Yes, I am aware that it was a satirical book. No, I do not think that I am unreal. Or undead. I may be unlikely, however.